Manual installation procedure
Download and extract the file "WPHylafax-for-Win_x.x.x.x.7z " (7z package).
Choose your language folder and then choose the right folder for your system:
Folder "Only-For-Windows-32bit" is for Windows 32-bit system
Folder "Only-For-Windows-64bit" is for Windows 64-bit system
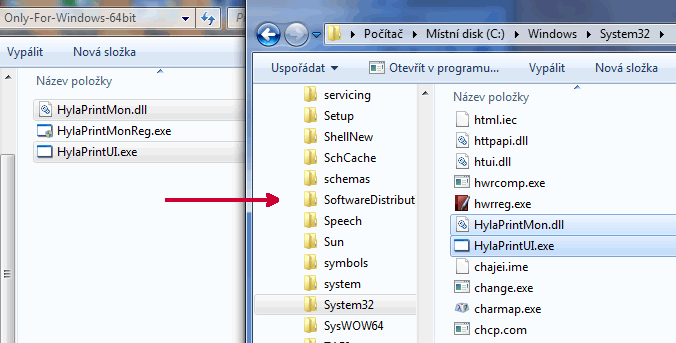
step 1 )
Copy files „HylaPrintMon.dll“ and „HylaPrintUI.exe“ to the C:\Windows\System32 directory.
step 2 )
Run As Administrator „HylaPrintMonReg.exe“ and click „INSTALL“.

Result must be OK.

step 3 )
Add Printer -> Local Printer. (same as WinPrint Hylafax - http://winprinthylafax.sourceforge.net/) and select the button "create a new port". Select type Winprint Hylafax.

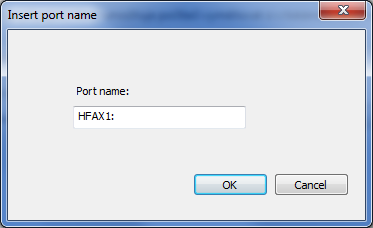
step 4 )
Port name – default is OK
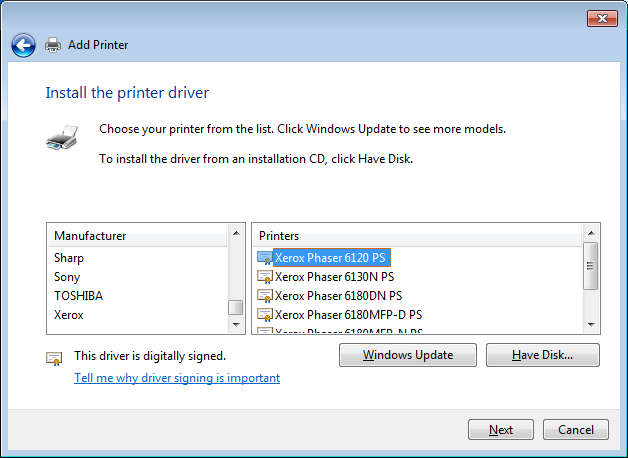
step 5 )
Select the printer type and click next.
| OS | Printer | Note |
|---|---|---|
| Windows 7 | Xerox Phaser 6120 PS | THANK YOU for James Smith |
| Win Server 2008 | Xerox Phaser 6250B PS | you have to click the button "Windows Update" first to download the driver for this model |
| Windows 8, 10, Windows Server 2012, 2019 | Xerox Phaser 6120 PS | you have to download the driver for this model |
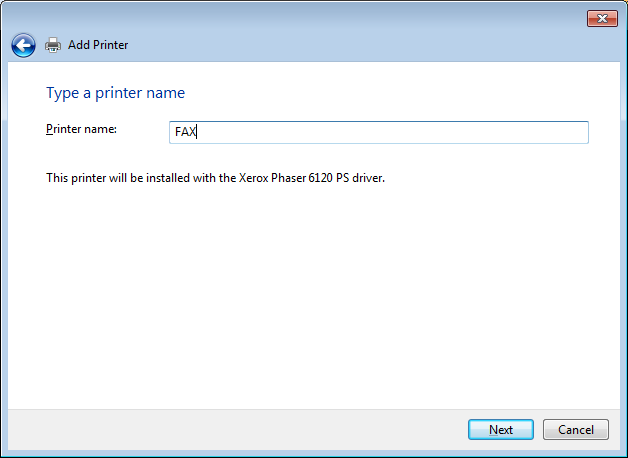
step 6 )
Insert the unique name for the printer - for example "FAX"
Do not share the printer.